For Photographers

Scouting Locations for Photography

Just this past weekend I had an engagement session that in all honestly I was super stoked about! The couple was sweeter than the banana cream pie I made the previous week. When it came time to decided where to shoot, they left it up to me. As I have stated in previous blog post, I LOVE downtown St. Paul; it is my go to location. 

For those who go to photo sessions with anxiety of the unknown, here are a couple of things that help me scout out for sesssions.

Go head of time: I'm by nature someone who needs a plan. For a lot of my shoots if possible I always walk around at the same time of day that I will be shooting at. It is normally within the same week or a week away from the session but this helps me understand the kind of lighting I will be working with. Where I want my couple and it helps me visualize my shoot even before it takes place. If this is not an option, try getting there before 15 - 30 minutes before the session.

Plan a head of time: going into a session with a plan and taking control of the session with confidence really does help your client trust you. It will reassure them that you have control so all they need to do is relax and enjoy the session together. I try to take advantage by creating a map in my mind of where to go and established how long it takes to get to each spot.

Choose spots for everyone's style: One of favorite wedding photographer's rule I try to follow is 10% for me 90% for my couple. Sounds like something out of the Hitch movie, right? Shooting any session,  I want to have photos that will stretch my photography for the better, but I also have to remember I am shooting for my couples and need to represent who they are as a couple. If you try shooting just 100% for your couple you will start to burn out and not love your work. If you don't love your work, who would you expect you couple to? One thing I that really works for me is finding at least one spot in the location that I am really excited about.

Check the Weather: you need to think is it has a chance of rain, do I have my umbrella,  do I have a cloth to have them sit on, if the weather is particularly horrible what's plan B.
In case of really hot weather, do I have water so everyone stays hydrated. All that good stuff.

Choose a variety: depending on the location  you may be limited where you can shoot, but having a good variety of area backgrounds will give your couples more to choose from. I know this sounds basic , but having a variety will also boost your portfolio.

Leave the floor open to suggestions: remember that 90% thing I was talking about? When I am shooting location with my couples, always I try to let them have the option of giving their ideas. I have heard from a photographer friend of mine that his favorite photo he took in 2015 was one where the groom just asked "can I pick her up and spin her around? " The photo turned out golden , so give the floor to your couples you might love the results!! And it also makes them feel like they are being heard and involved in the session.

Admit when something doesn't work: lastly, it is OK to let your couple know when something is not working. When I try something new (because in my mind it looks amazing) , I communicate that to my couple. I let them know my vision and sometimes it works and sometimes it doesn't . It helps me grow with my knowledge of what works and what doesn't and i feel it helps my couples know I am willing to try different things to get the photo.

I know this is a little bit of a longer post , so thank you for staying with me! I hope these are some things that you can takeaway for your own sessions!

What's In My Bag?

50.jpg

Nikon 50 1.4g

First off, we will start with the lens my bag started with - my trusted Nikon 50mm 1.4G. This lens ha been on of my staples; the wide aperture allows me to shoot wide open, which I have found tends to fit more my style. I use mostly for my portraits, because of how well it handles.

24-70.jpg

Tips and Tricks: With the 1.4 I can use this in darker areas without any problem!


Sigma 24-70mm 2.8

My second "must have" is the Sigma 24-70mm 2.8. i purchased this lens from Sigma because of the dramatic price difference compared to the Nikon.   This lens is my workhorse!!! for a wedding day; It does so much I would buy it a ribbon of excellence if it wouldn't get in the way of my shooting when I put it on the lens. It is so versatile compared to any of the other lenses I possess.  This is the second lens I purchased for my full frame; now I cannot imagine shooting a wedding day without it.

Tips and Tricks: This lens does a beautiful and playful sun flare that I really love!

70-200.jpg


Nikon 70-200mm 2.8 VR I

With this lens, events are less daunting. It is awesome for getting candid moments while being inconspicuous or right in their face. The 2.8f/stop is perfect for lower light situations, which any photographer knows is a must.

Tips and Tricks: Never bring your shutter speed lower than your focal length. It has a larger tendency of not being sharp. Also make sure you get a good arm strength for this lens because it is heavy!


PicMonkey Collage.jpg


Nikon 85mm 1.8G

This baby is the newest member of the MW family. A GREAT portrait lens, it fits really well to my personal style.  the body of the lens was a little bigger than I anticipated, but it is not as heavy a the Nikon 85 1.4.


Tips and Tricks: Be careful of shooting in bright sun while shooting wide open. This lens has a tendency to have  chromatic aberration in those conditions. I also tried the 85 1.8D, I have found the 1.8G is sharper.


60.jpg


Nikon 60mm

This lens I actually inherited from my father; he too used it from his old wedding photographer days. This lens is the little one that helps me capture little details!

Tips and Tricks: I always manually focus for my ring shots. This helps that I can be 100% certain that those diamonds are in breathtaking focus.


d610.jpg

Nikon D610

As I was just starting out, It was important for my to upgrade to a full frame. I didn't feel it was right for me to ask people to pay me if I did not inturn have the best I can give.  I wanted  a Full Frame that could be a workhorse,but still affordable. I found exactly that in my 610! I think it will be quiet a while before I upgrade this secret love of my life! :)


triggers.jpg

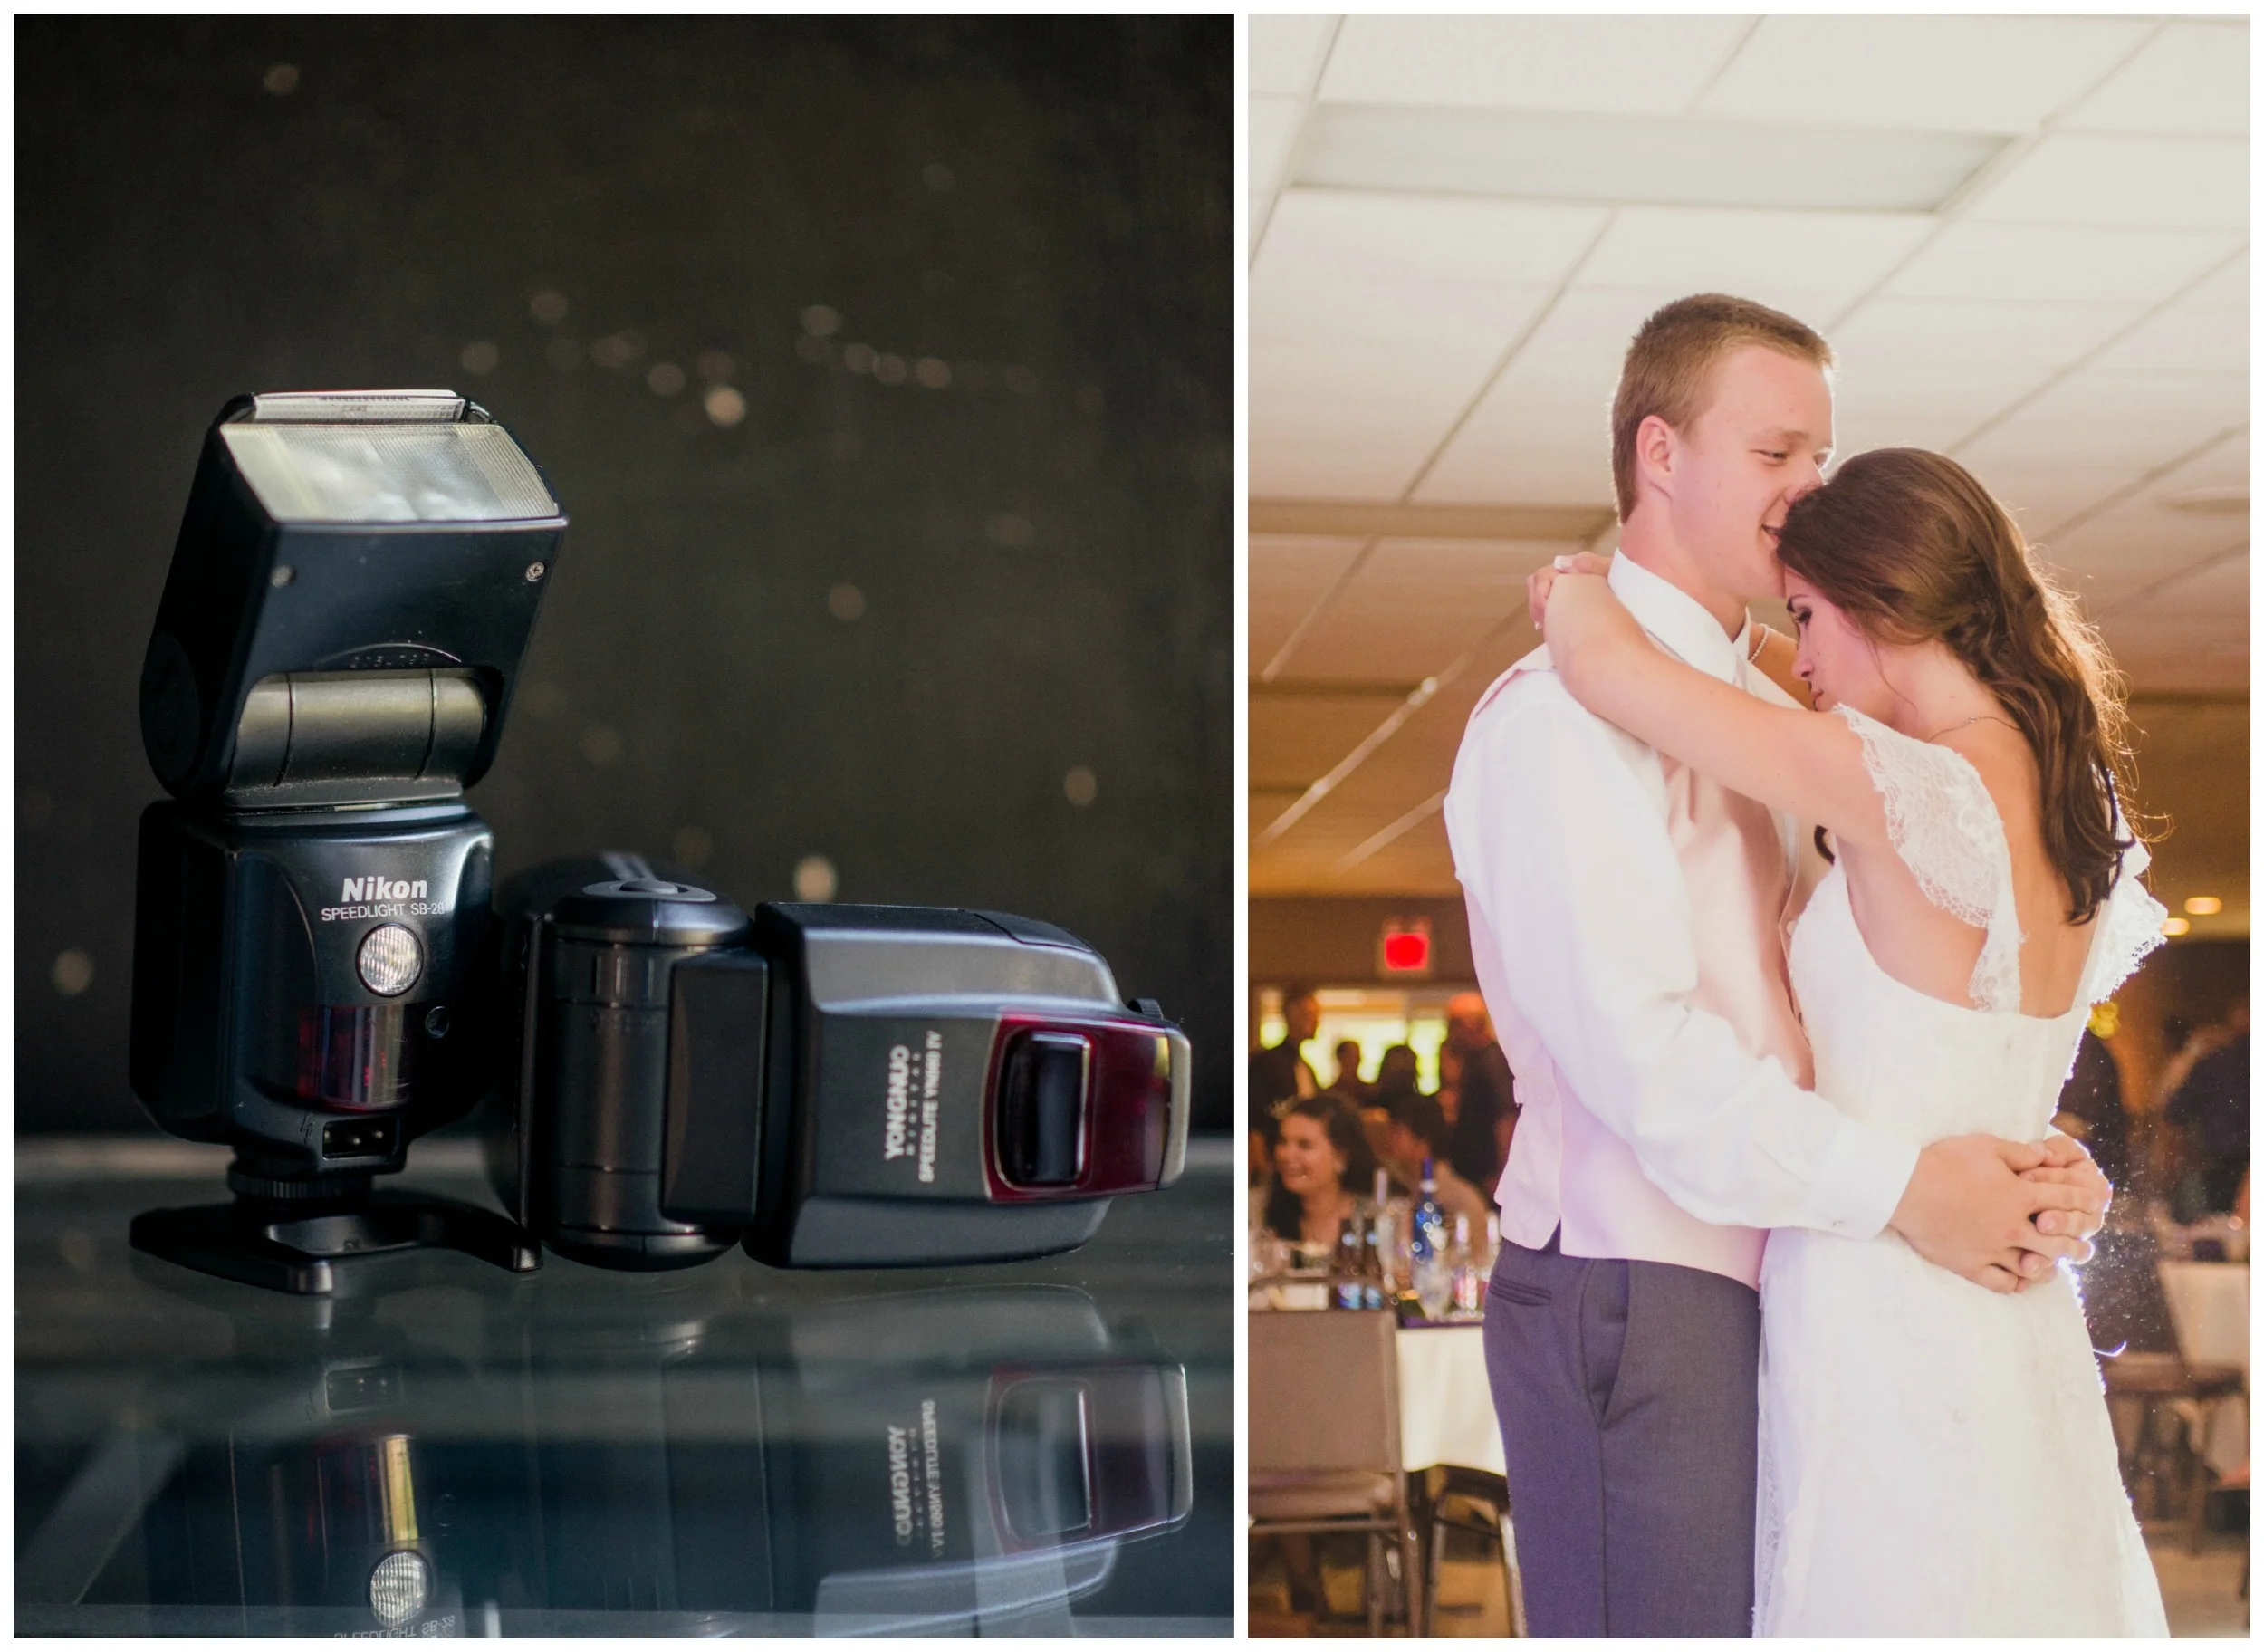
 Flashes help when natural light is not available, which as ever wedding photographer knows happens a lot on a wedding day. You want something reliable; I have put my trust of brightening up dark situations in my YONGNUO YN560 IV and Nikon S600.


Tips and Tricks: Practice with your flashes before using them at your venue!! I played with my settings enough that I know what my equipment will do before it does it.


triggers.jpg


Wireless transceiver and receiver

Last & smallest in my bag is my flash triggers by Yongnuo. They have yet to fail me and are amazing! I use these for anything to do with my flashes. mostly for reception shots!

Tips and Tricks: Always make sure that you have backup batteries to your backup batteries! Better to be over prepared than not prepared at all!


I am so grateful for all that I have been able to gather for my little army.  And I am proud that I am able to hold my hard work in my hands. It is a feeling I always relish. 

There is still a couple of members on my with list: Nikon 135mm 2D, 35mm, 105mm. But it think it will be a lot more saving for those lovelies =) 

What's in your bag that you love?!